
Our app template already offers integrated localization, i.e. the user is automatically shown the language that is set on their device (if there is a language file for it). If the language is unknown, the English language pack will be loaded automatically.
Use localized content
To access localized content in the app, you can do the following.
Namespace
To get access to the localization, you have to include the following namespace.
using AppBasement.Resources.Localization;
xmlns:localization="clr-namespace:AppBasement.Resources.Localization"
C#
In Klassen könnt Ihr über das “Strings”-Objekt auf die Übersetzung zugreifen.
await Shell.Current.DisplayAlert(
    Strings.DialogActionNotAvailableInDemoModeHeadline,
    Strings.DialogActionNotAvailableInDemoModeContent,
    Strings.Close
    );
XAML
In XAML files you can access the translations as follows.
Text="{x:Static localization:Strings.ButtonClose}"Add new language
To add a new language, follow the steps below.
Create a new language file (resource file)
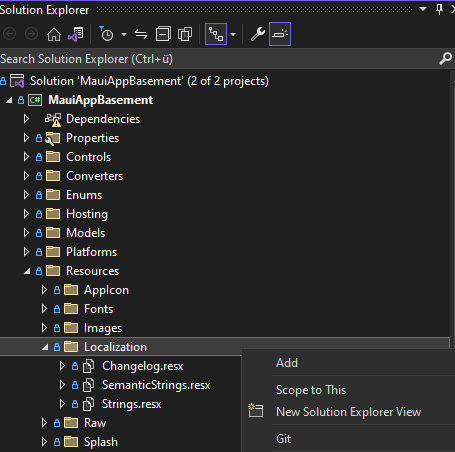
Im Projektmappen-Explorer wählt Ihr den Ordner “Localization” mit der rechten Maustaste an und fügt anschließend über den Menüpunkt “Hinzufügen => Neues Element” ein neues Ressourcendatei (resx) hinzu.
Die Dateivorlage findet Ihr am schnellsten, wenn Ihr “res” in der Suchleiste oben rechts angebt.
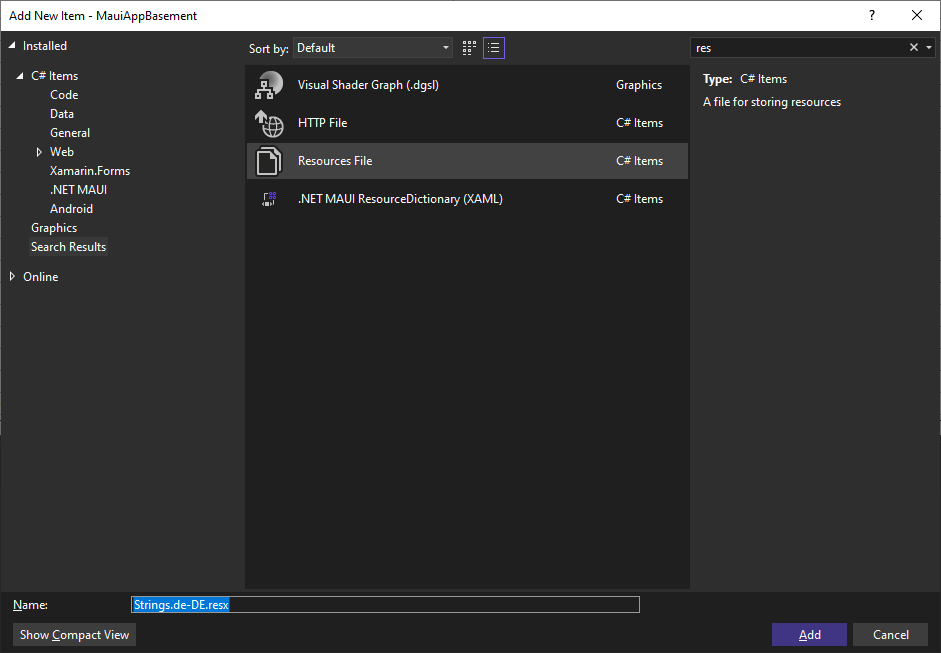
Benennt die Datei “Strings.xx-XX.resx”, wobei “xx-XX” für die gewünschte Sprache steht, im Beispiel hier “de-DE” für Deutsch. Eine Übersicht aller Ländercodes findet Ihr, unter anderem, hier.
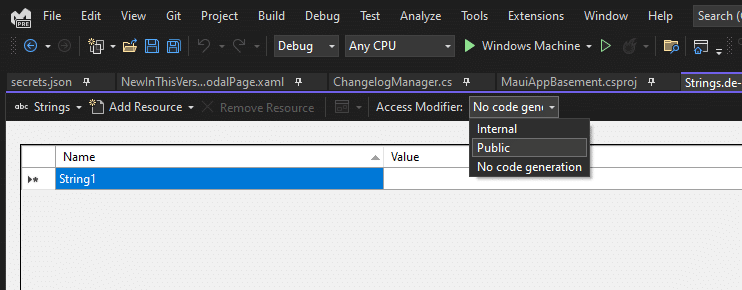
Set language file to public
Nach dem Hinzufügen der Sprachdatei wird diese in der Regel automatisch geöffnet. Falls nicht, die neue Datei im “Localization“-Ordner doppelklicken. Bei Zugriffsmodifier den Wert auf “public” setzen. Andernfalls ist der Inhalt nicht zugreifbar.
Insert translation
Nun kopiert den Inhalt aus der originalen “Strings.resx”-Datei und übersetzt die Spalte “Wert” in die gewünschte Sprache.
Flagge einfügen
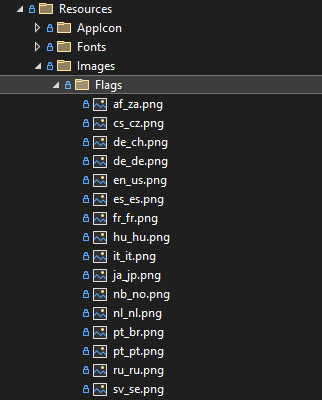
In den Spracheinstellungen werden zu den jeweiligen Sprachen auch die Flaggen angezeigt. Diese werden im “Resourcen“-Ordner “Images/Flags” verwaltet.
The most common flags are already available here. If your language is missing here, you can simply add the missing flag here or contact us and we will update the template accordingly.
Danger!
If you add a new image or flag here, please note the necessary build settings for the other files.
Register language
Abschließend muss die Sprache im LocalizationManager hinzugefügt werden. Dies muss in der “AppHostBuilderExtension.cs” Datei erledigt werden. In der ConfigureApp Methode findet Ihr folgenden Abschnitt.
// Available languages
                .ConfigureLocalizationManager([
                    //https://www.fincher.org/Utilities/CountryLanguageList.shtml
                    new("English", "English", LocalizationManager.GetImageUri("", "en-US"), "Andreas", "en-US", 100, true),
                    new("German", "Deutsch", LocalizationManager.GetImageUri("", "de-DE"), "Andreas", "de-DE", 100, true),
                ], "")
Simply copy one of the entries here and adjust it for the desired language.
Set and check language
Now everything should be adjusted and you can check the function or the new language. To do this, create and start the app and visit the language settings.

To change the language, simply click on the desired language in the list and restart the app. The app should then appear in the desired language.