
Available from
v0.0.9-betaOnly in Pro version?
YesExport as an Excel file
Single calculation
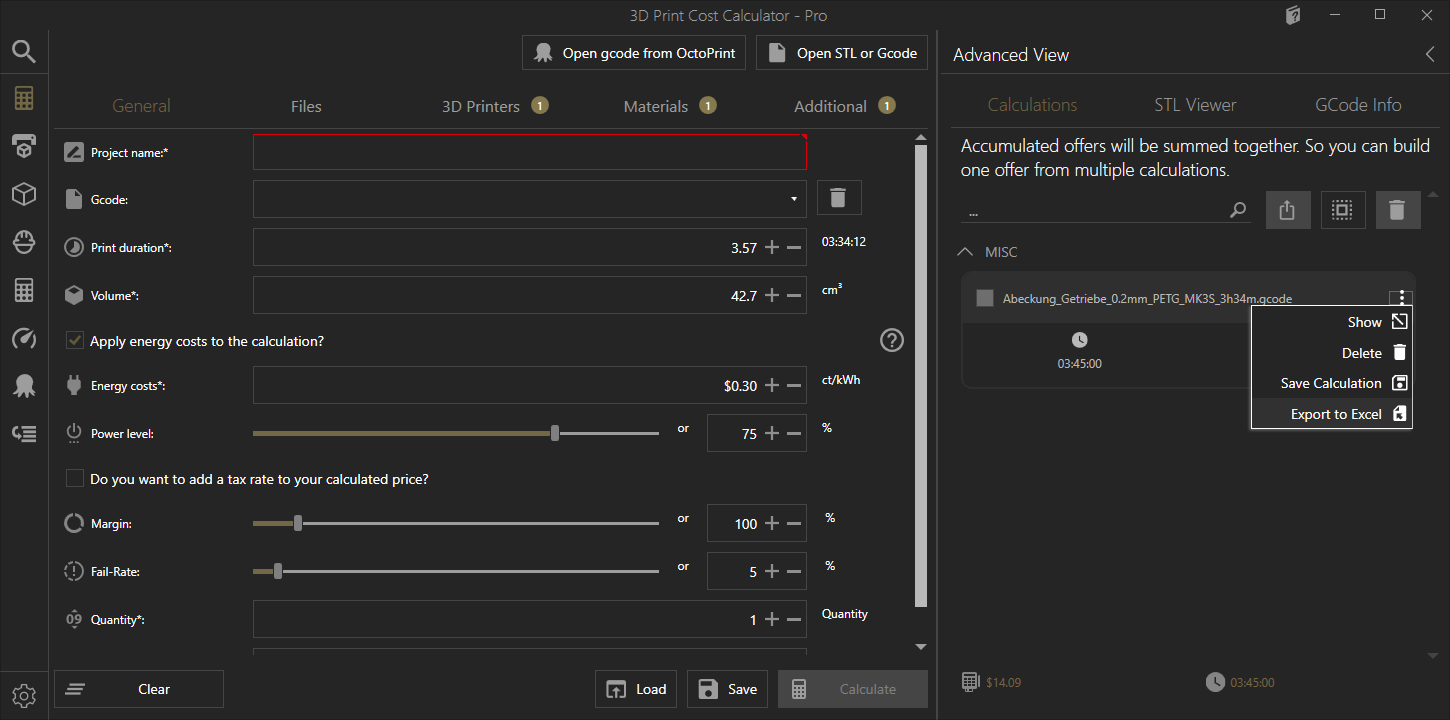
If you want to export the information to an Excel file or write it into an Excel template, simply click on the “Export as Excel file” next to the calculation to be exported.
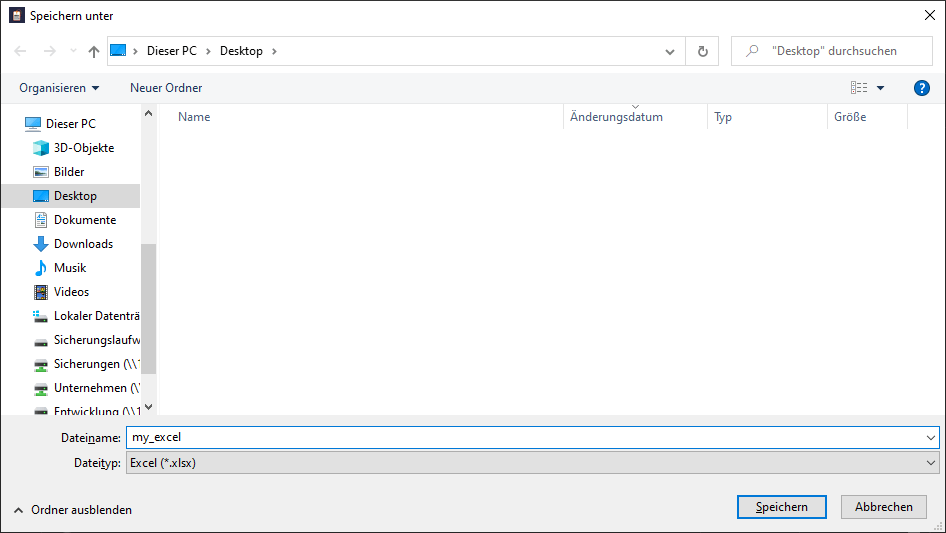
You will then be asked to assign a file name for your Excel file.
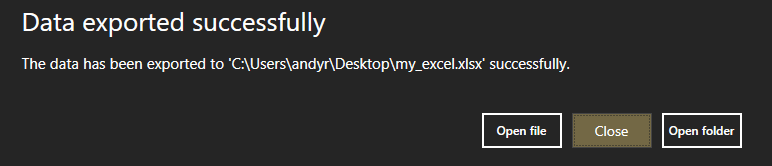
If everything worked, you will get the following message from the tool.
The standard export for Excel files currently contains the following information:
- Printer
- Material
- Project name
- Volume of the extruded filament
- Quantity
- Printing time
- Printing costs
- Material costs
- Energy costs
- Work steps
- Handling fee
- Profit
- Taxes

Multiple calculations
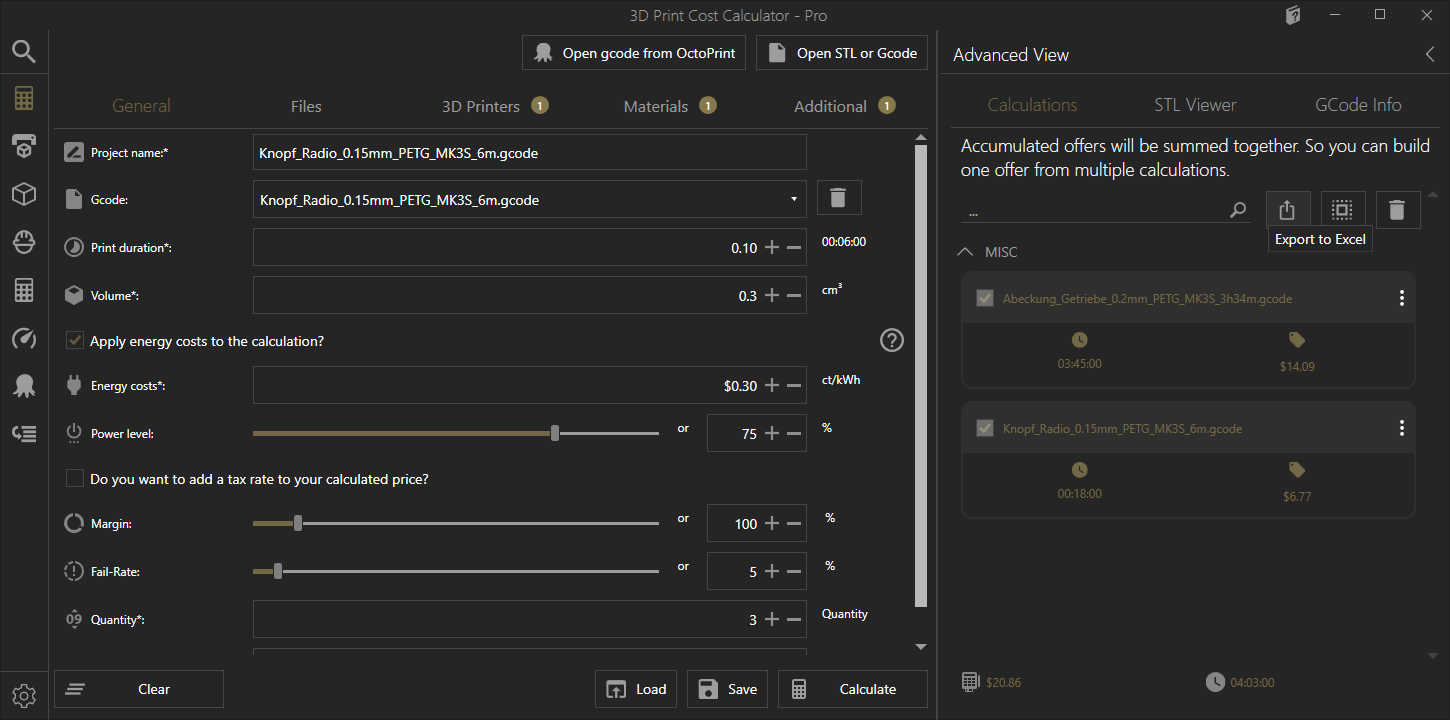
If you want to export several calculations as a list into an Excel file, you have to mark the desired calculations and click on the “Export as Excel file” button.
After assigning a file name, the export result looks like this.

Write in an Excel template
As an alternative to the standard export, you can create and use various Excel templates in the tool. In contrast to a simple list, here you can have specific values written in certain rows and columns. This is particularly suitable for offer and invoice templates.
Activate Excel templates
In order to be able to use this function, you must first activate the corresponding option in the settings. To do this, go to “Excel export” in the settings and activate the export to an Excel template.
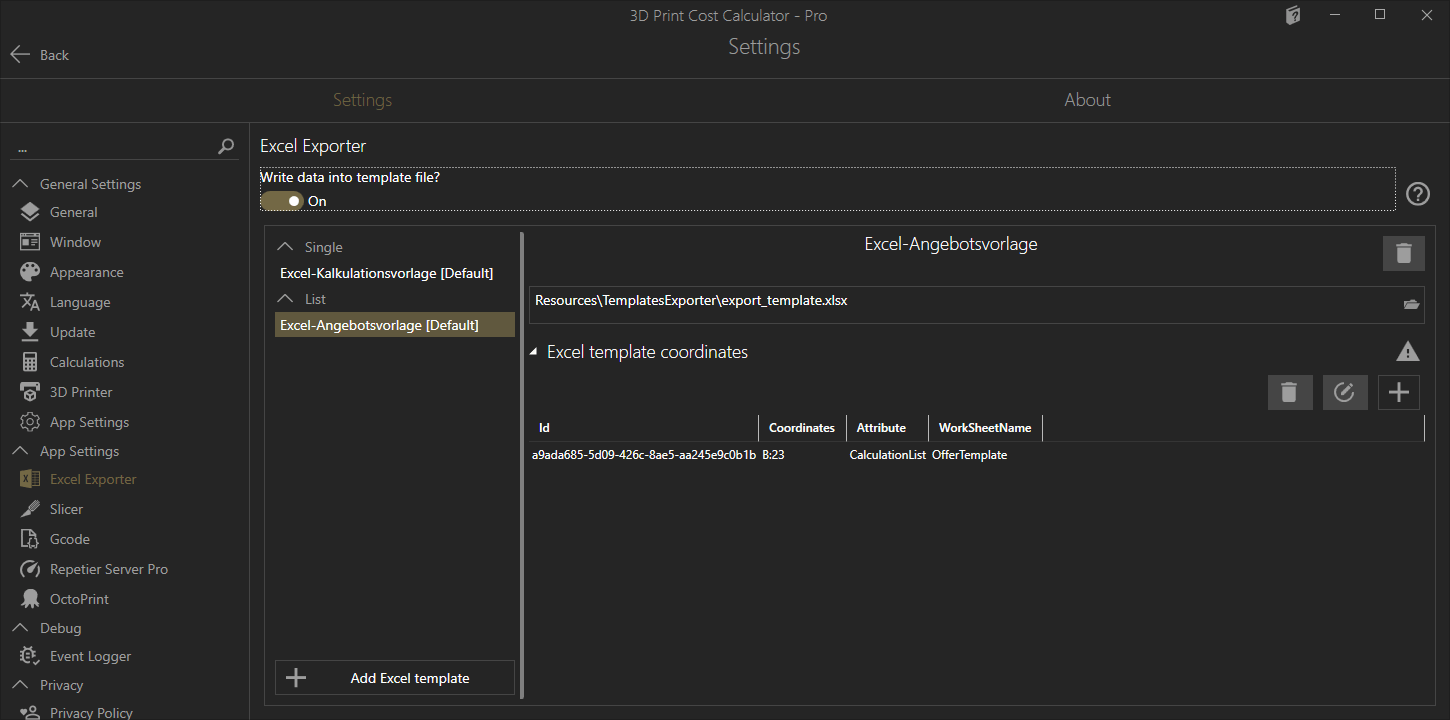
A distinction is currently made between two types of templates:
- Template for a single calculation
- Template for a number of calculations
By default, you will find one template each as a template. You can either change our standard templates or create your own new templates.
Create a new template
To create a new template, prepare your Excel file. This is already required in the creation step. If you have everything at hand, you can create a new template with the "Create Excel template" button.
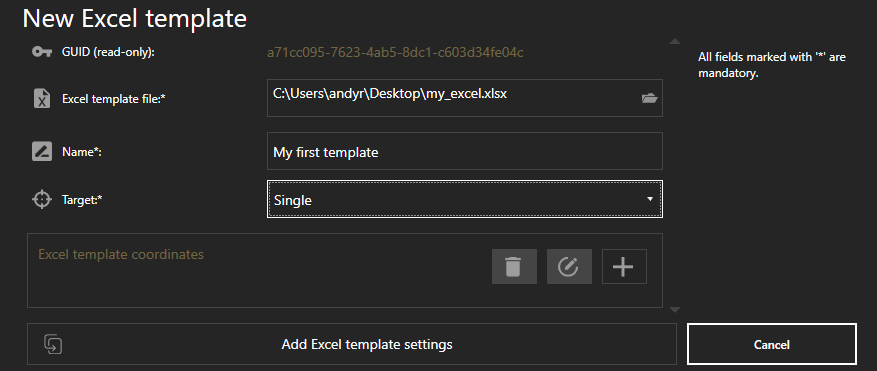
At the beginning, select your Excel file which you want to use as a template. Please note that the tool does not copy the file, but only saves the path where it can be found. Please do not move the data afterwards, or update the path in your template settings.
Furthermore, you have to assign at least one attribute to a coordinate in your Excel file. Simply click on the "+" button. This opens another dialog in which you can assign attributes to coordinates in your Excel template. The dialog automatically recognizes your workbooks.

You can use attributes as often as you like and thus fill your template. Please note, however, that there are differences between the “Single” and “List” template types.
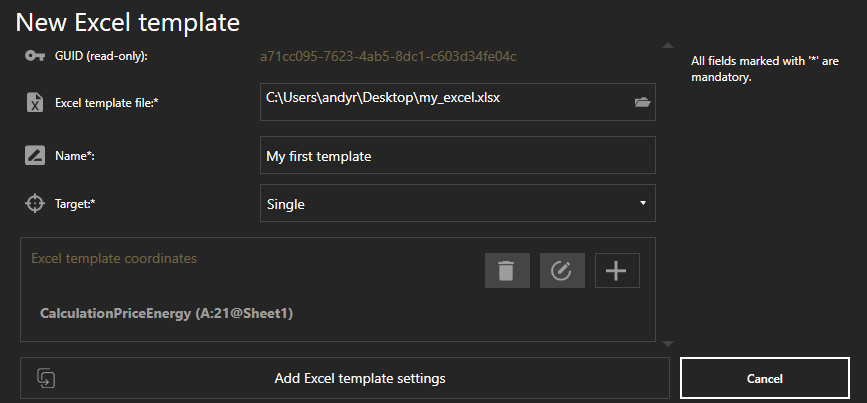
Now you can create and save the template. From now on this is available for selection when exporting, provided you activate the export to a template file.
Export of the calculation (s) to an Excel template
Once all settings have been saved, another dialog opens when you click on “Export as Excel file” in your calculations. Depending on whether you choose one or more calculations, either the templates appear with the type “Individual” or “List”.
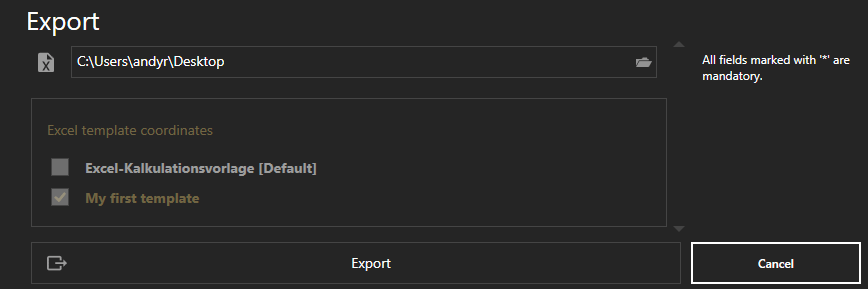
The Excel export then writes the required information to the specified coordinates.
Third party software used
For the export as an Excel file, we use the Nuget package from Syncfusion . You can find the license directly in the tool under “Settings” and in the “About” tab. We are happy to answer any questions you may have.
Save as a calculation file
If you want to save your calculations as a calculation file, please have a look at this Instructions .